Install the widget on your website
Copy one snippet into your website, allow your domain, and check that the widget is live — with steps for WordPress, Wix, Squarespace, Webflow and more.
You install the widget once. After that, every change you publish on the Widget screen reaches your website by itself — you never have to edit your site again.
Installing takes three things, all on the Install tab:
- Copy the snippet into your website.
- Add your website's domain to the allowed domains.
- Check that Konvuno sees the widget on your site.
Note
The widget only appears on your website once it is published. You can install the snippet before that — it simply stays invisible until you click Publish.
Copy the snippet
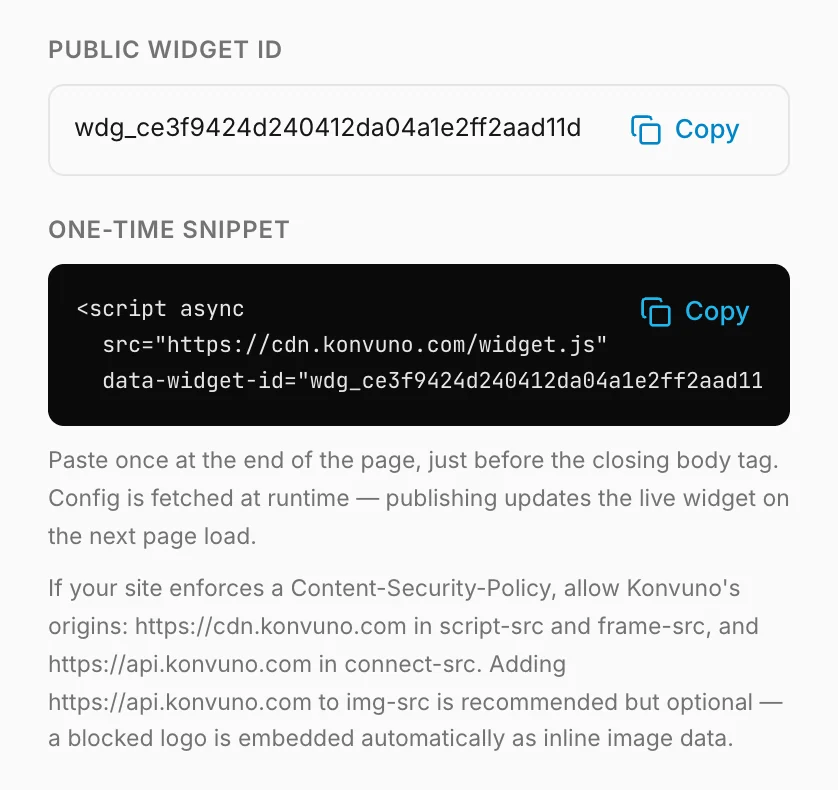
The One-time snippet is three lines of code that load the widget. Click Copy on the dark box to copy it.
Paste once at the end of the page, just before the closing body tag. Config is fetched at runtime — publishing updates the live widget on the next page load.
If someone else looks after your website, send them the snippet together with a link to this page. They do not need a Konvuno account.
Tip
The Public widget ID (it starts with wdg_) is not a password — it is safe
to share with whoever installs the widget.
Step-by-step for your website builder
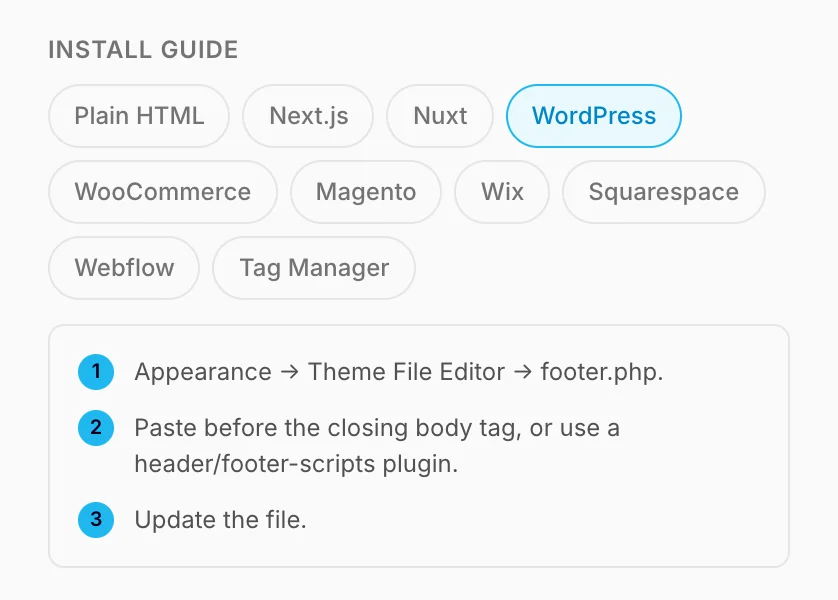
Under Install guide, click your platform to see its steps. The most common ones in more detail:
WordPress
The simplest way is a free plugin that adds code to every page, such as WPCode (formerly "Insert Headers and Footers"):
- In WordPress, go to Plugins → Add New Plugin, search for WPCode, click Install, then Activate.
- Open Code Snippets → Header & Footer.
- Paste the snippet into the Footer box and click Save Changes.
You can also paste the snippet into your theme's footer.php, just before </body>, under
Appearance → Theme File Editor. Be aware that a theme update can overwrite that file and
remove the widget — the plugin way survives updates.
WooCommerce
WooCommerce runs on WordPress, so follow the WordPress steps. The
widget then shows on your shop and product pages too. To keep it off the checkout, add /checkout
under Hide on specific pages. For the assistant to recommend
your products as well, connect your shop on the Catalog
screen.
Wix
Settings → Custom code (requires a premium plan). Then:
- Click Add Custom Code and paste the snippet.
- Choose All pages and place the code in Body — end.
- Click Apply, then publish your site.
Squarespace
- Settings → Advanced → Code Injection (Business plan or higher).
- Paste the snippet into the Footer field.
- Save — the widget appears on every page.
Webflow
- Site settings → Custom code (requires a paid site plan).
- Paste the snippet into the Footer code field.
- Save and publish the site.
Google Tag Manager
- New tag → Custom HTML, paste the snippet.
- Trigger: All Pages.
- Submit & publish the container.
Any other website
Paste the snippet just before the closing </body> tag of every page — usually in a shared
footer or layout file — then save and reload the page. The install guide also has steps for
Next.js, Nuxt and Magento.
Allow your domain
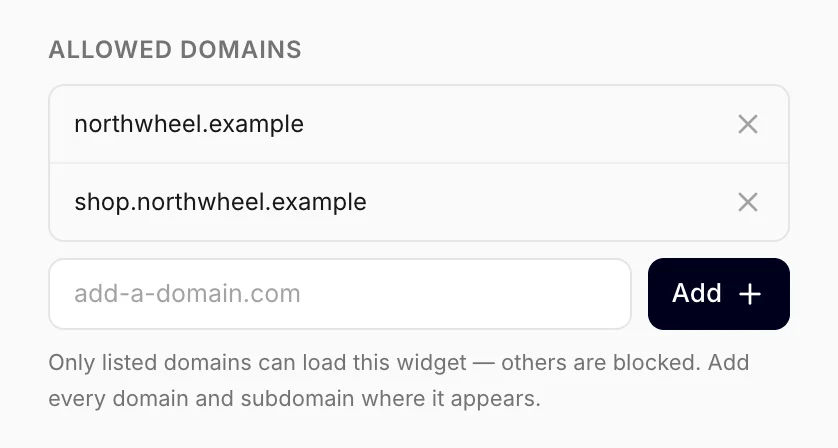
For safety, the widget only loads on websites you list under Allowed domains. On any other website it stays invisible, even if someone copies your snippet.
If you typed your website when you created the business, its domain is already on the list. To add another one:
- Type your domain, such as
example.com, into the box. - Click Add.
Pasting a full address such as https://www.example.com/contact is fine — Konvuno keeps just the
domain. A few rules to know:
example.comalso coverswww.example.com.- Every other subdomain needs its own line: add
shop.example.comseparately if your shop lives there. - Changes here apply immediately. They are not part of the draft, so there is nothing to publish.
With no domains on the list, the widget loads nowhere — the most common reason a published widget does not appear. While the list is empty, the tab says so above the box, and publishing reminds you, with an Add domain button that brings you here.
Check the installation
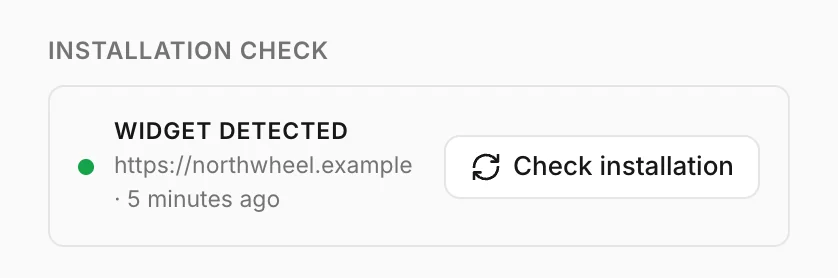
Once the widget is published and the snippet is on your site:
- Click Check installation.
- Open your website in a new tab — the widget is detected the moment the page loads.
- Within a minute the card shows Widget detected, with your website's address and when the widget last loaded there.
If the card still reports no signal after a minute, work through The widget does not show on my website.
How other businesses use it
- A restaurant on Wix pastes the snippet under Custom code and adds its domain — done in five minutes, without a developer.
- An agency building a site for a client sends the client's web developer the snippet and a link to this page.
- A shop with a separate blog adds both
example.comandblog.example.com.